
Here is some helpful information if you wish to process and upload images in the future to meet the size & dimension requirements.
Before uploading images:
★ Image should be in landscape orientation
★ Make sure that the file is no more than 800 KB in size
★ PNG, JPG, or JPEG file type
★ Be sure the image is about a 5:2 aspect ratio (1000 x 400 px) to fit best into the allotted space
We also recommend giving it a unique/identifiable name like VanillaLatte_HotBev or MozzSticks_Apps or PastaSpecial_Entrees
How to upload on the Hazlnut Dashboard
- Log into the Hazlnut dashboard & go to the 'Menu' tab.
- Click 'Modify' next to the category or item you wish to edit,
- Click 'Choose File' to upload the image that correlates to the category/item
- Before choosing your file, be sure it meets the requirements outlined above the 'Choose File' button and outlined in this FAQ article
- Click 'Open'
- You will see our newly added feature that allows you to crop images to the correct specifications directly from the Hazlnut dashboard!
- Simply stretch the sides of the frame until the entire image fits satisfactorily within the 1000 x 400 px dimensions (5:2 crop ratio).
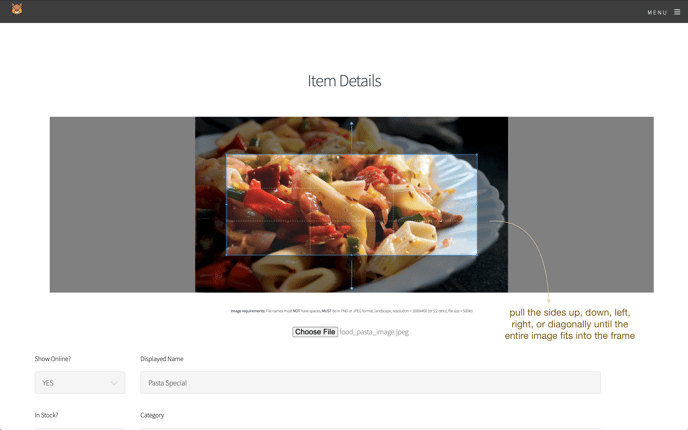
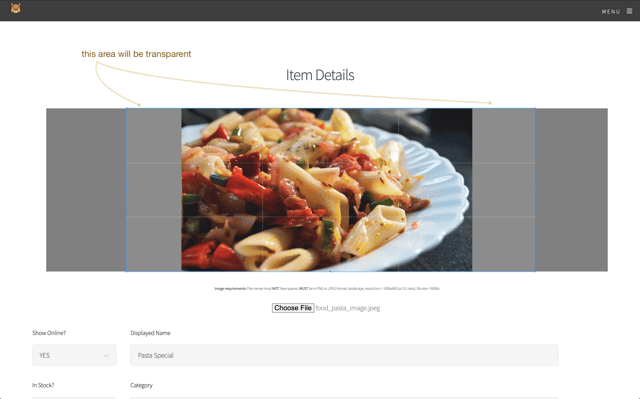
- Make sure the image is centered in the frame. You can keep the frame tight around the image with no blank space, or you can stretch it all the way to show the full image. Keep in mind, the light gray areas will be transparent.
- Remember to save your changes!
- Repeat for all categories/items
Click here
to see how your image will appear to customers online & on the app
Click here
to learn more about why you don't see the image updates appearing online or on the app

→ If image requirements aren't met, a few errors may occur:
Uninviting "Image of ___ " message
Slow loading of menu
Distorted/cropped image(s)
Below are some helpful step-by-step instructions to get the images into the correct dimensions using Adobe photo-editing software
Professional method on Adobe Photoshop
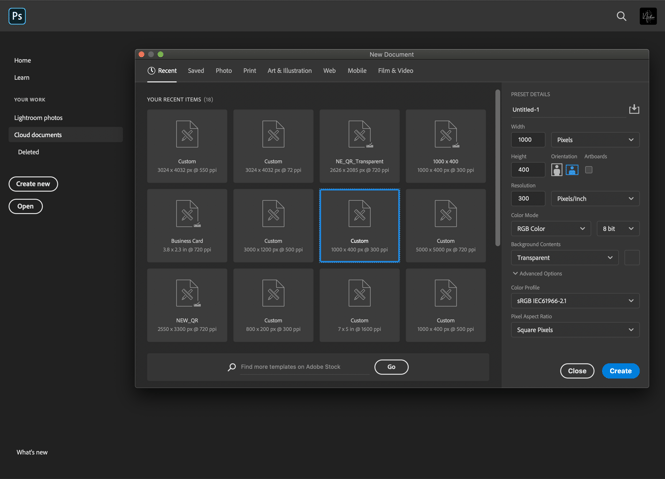
- I open a new project on Adobe Photoshop with these settings:
- Width: 1000 pixels; Height: 400 pixels
- Resolution: 300-500 pixels/inch
- Background Contents: Transparent
- I drag the image into Photoshop and make sure it is centered.
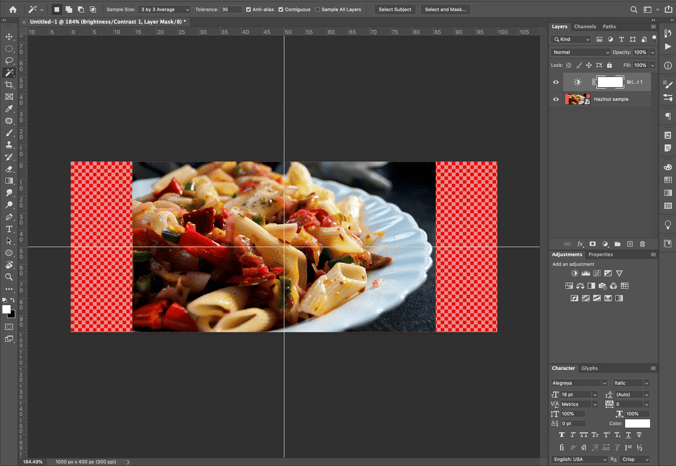
- Export the image in PNG format with 1000 x 400px image and canvas size:
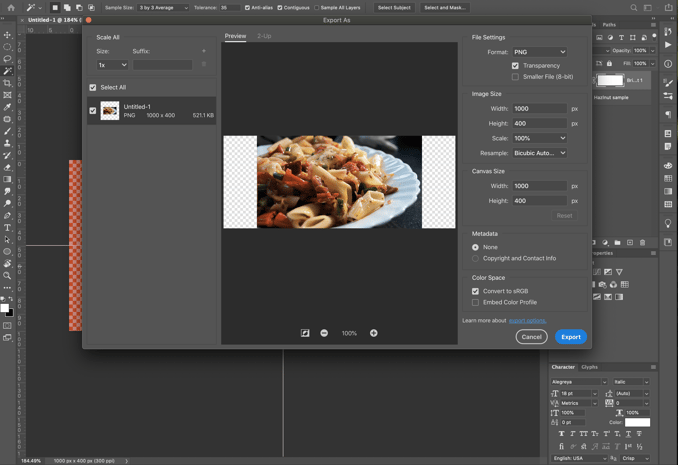
To keep the transparent space on the sides of the image, and get the entire image to have 1000px width and 400px height, I make sure to save it as a PNG file rather than JPEG. PNG captures better resolution per pixel but takes up less bytes of space. JPEG will add color behind, but we need it to stay transparent.
- Then to compress the image to <500kb, run it through Tiny PNG.
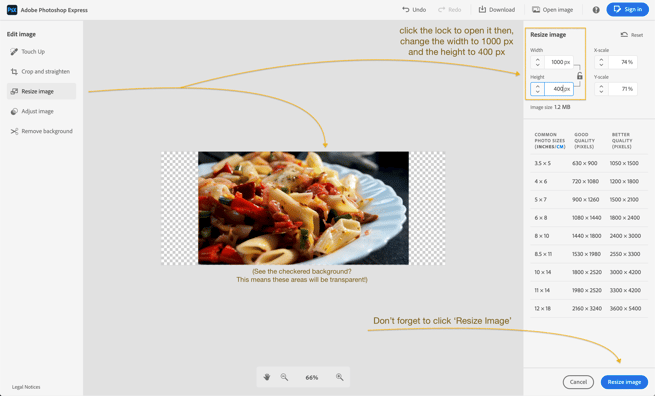
Free method with online or desktop photo editing tools
If you don’t have access to an advanced photo editing program, CANVA, Photoshop Express, and PIXLR also allow you to do this.
- Simply stretch the crop to the sides until the image appears to meet the 5:2 crop ratio (or 1000 X 400 pixels) and you will see the transparency background like this:

- Before clicking 'Crop Image', make sure the image is centered!
- Change the dimensions to meet 1000px width by 400px height
Always save transparent images as PNG files to keep the transparent background, maintain the image quality, and be able to upload it to your online ordering site/app.
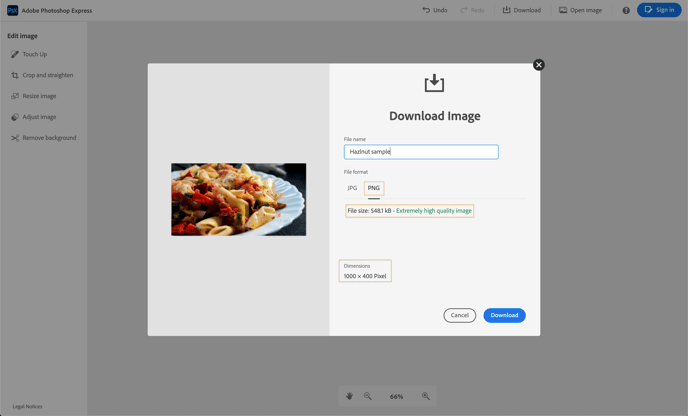
- Then to compress the image size to <500kb, run it through Tiny PNG.