
This is because we know that oftentimes dummy items & in-house-only modifiers are created/added to items so the serving staff can easily access them when needed. However, most of these adjustments are not meant for public viewing.
We also keep in mind that holiday items are often setup on the PoS several weeks before they are actually available to allow enough time to organize & prepare for launch. You can sync over the special-seasonal menu to Hazlnut several weeks, even months, before you plan to launch it. Then, it will be there for you to organize, add descriptions, add images, and fully setup without your customers ever seeing it! Once it's time to launch these newly added items, you can easily switch the 'Show Online?' display to ON and it will immediately be visible on all Hazlnut online ordering
How do I sync newly added inventory?
- Add these new categories/items/modifiers with the correct price to your POS system
- Log into the Hazlnut dashboard
- Click ‘Menu’
- Click ‘Sync POS Menu’
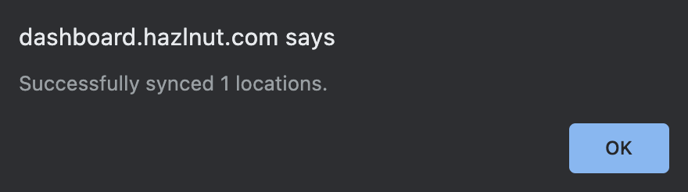
- Wait for the successful-sync notification to appear
How do I setup the newly synced inventory?
It's best to work backwards from here:
- Go to the Modifiers tab
- Check that the new modifiers have synched over to Hazlnut
- Click ‘Modify’ next to all the new modifiers you would like to edit
- Here you should clean up the displayed name of the modifier
- You also have the option to create Sub-Option Sets & Multi-Mid Sliders
- Click ‘Save’
- Go to the Modifier Groups tab
- Click ‘Modify’ next to all the new or existing groups you would like to edit
- Here you can add and review modifiers in the group
- You can drag-and-drop the modifiers to your desired display order
- For newly-added modifier groups, here you can clean up the displayed name too
- Click ‘Save’
- Click ‘Modify’ next to all the new or existing groups you would like to edit
- Go to the Items tab
- Click ‘Modify’ next to all the new items you would like to edit/show
- Change the 'Show Online' setting to ‘ON’
- Here you can also make any other changes you need like adding a description, attaching a modifier group or setting requirements/limits to add-on option sets
- Click ‘Save’
- Click ‘Modify’ next to all the new items you would like to edit/show
- Go to the Categories tab
- Click ‘Modify’ next to all the new categories you would like to edit/show/hide
- Here you can create an availability schedule by days and times (PST), change the item display sequence, and make sure all the items in said category are displaying. [Item will say 'not displayed ' to indicate it will not show up online]
- Click ‘Modify’ next to all the new categories you would like to edit/show/hide
Be sure to save your changes. To see the published updates: clear your Hazlnut cache or recent browsing history before refreshing the page.