Make sure your item display is on:
- Log into the Hazlnut dashboard
- Click ‘Menu’
- Click ‘Sync POS Menu’
- Wait for the successful-sync notification to appear
- Go to the items tab
- Search for the items you would like to show
- To the right of the item, check if the toggle is grey (OFF) or blue (ON)
- Change the 'Show Online' setting to ‘ON’
- Here you can also make any other changes you need like adding a modifier group or setting requirements/limits to add-on option sets
- Click ‘Save’

Make sure your category display is on:
- Log into the Hazlnut dashboard
- Click ‘Menu’
- Click ‘Modify’ next to the category you would like to show
- Change the 'Show Online' setting to ‘ON’
- Here you can also make any other changes you need like adding a description or changing item display order
- Click ‘Save’

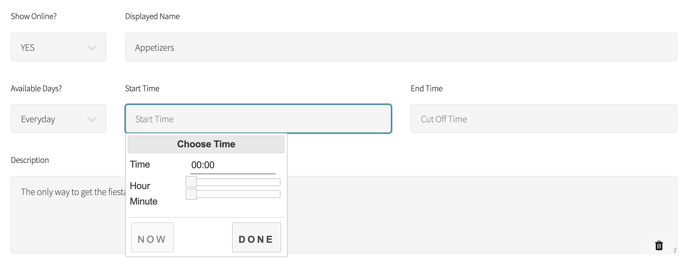
Make sure the category doesn't have special availability
- From the Menu Management page
- Click ‘Modify’ next to the category you would like to show
- Check the 'availability' is correct (everyday is default)
- Check that the Start Time and End Time are correct.
- Make sure it is in 24-Hour time (AKA Military time)
- 8:00 is 8 AM... 12:00 is noon... 13:00 is 1 PM... 22:00 is 10 PM
- Make sure start time is before ending time (e.g starting at 5:00 and ending at 3:00 will not work... It must be starting at 5:00 and ending at 15:00)
- If you would like to clear the Start and End times, please set the starting time to your store opening time, and set the end time to your store closing time. Changing it to 00:00 won't clear the starting & ending time
- Make sure it is in 24-Hour time (AKA Military time)
- To learn more about start & end time, please read this article.
- Check that the Start Time and End Time are correct.
- Click 'Save'
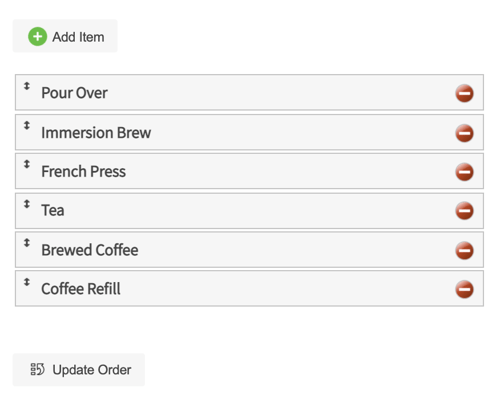
Check the item display order
- Log into the Hazlnut dashboard
- Click ‘Menu’
- Click ‘Modify’ next to the category your item is in
- Scroll to the very bottom and drag-and-drop the items into the order you'd like the items to display in
- Here you can also make any other changes you need like adding a description or changing category display name
- Click ‘Save’
Make sure the item is correctly tracking inventory
- From the Menu Management page
- Go to the items tab
- Search for the item
- To the right of the item name, check that it is in-stock (toggle is in the blue position)
- If inventory tracking is enabled, make sure the stock quantity on your PoS is correct
- Click 'Save'
![]()
Clear your cache, or quit the app to refresh the menu
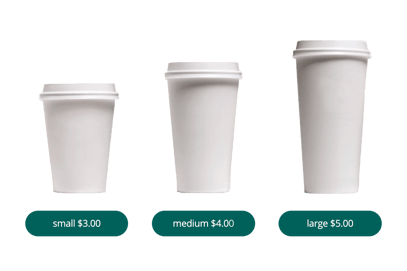
Setup the item with Price-Level buttons